Any links to Amazon are affiliate links. '
Showing posts with label crafts. Show all posts

DIY Burplap Wreath Tutorial


While it is easy to find many fun and cute wreaths for different holidays and seasons, the in-between season times can be difficult. Then along came burlap and my off-season wreaths were saved! I love the burlap wreath, and it is ridiculously easy and inexpensive to make yourself. This is especially true if you catch the items on sale or use a coupon to get them 40-50% off. This post contains affiliate links. This does not increase your cost. 


To make a wreath, you will need a wreath frame and some burlap. I have made a frame with burlap I bought by the bold and one with the burlap roll (as shown above). The roll is a lot easier. If you buy it by the yard, you will need to cut strips, which isn't a huge deal. But it does fray and it is messy so if you are going for quick and easy, go for the roll.

You take your wire frame and your burlap and you just weave the burlap over and under, over and under, etc. on the frame. I tucked the end around the first ring of wire so it was on top of itself.

Then you scrunch it up. 

Don't cut your burlap strip--just continue weaving. Scrunch and poof as you go.

Keep going.


Once you get it all on there and scrunched and full how you want it, you will cut off the excess. For this frame, I used one roll and got into a second roll. You can see the excess in the picture above coming off the right and over the top. Just cut it. 


Then I decided to serge the end of it where I cut to help prevent fraying. This is not necessary, but it is nice. You could also try Fray Check or do a zig-zag stitch with your sewing machine. Once you do that, tuck it in the back.


Finished product on my door!

This is my larger one that I used with a bolt of burlap. I made little rosettes out of fabric to add some decoration to it.

Organizing Kids Crafts and Memories

I remember the scene like you would remember any horrifying experience. Summer was winding down, I was about to have baby, and I wanted stuff organized and ready to face the new school year. I pulled out the piles and piles (and piles) of paper of pictures that Kaitlyn alone had created over the last few months. I wish there was some way to transfer my memory to these words so you could experience it with me. Alas, you will have to be contented with knowing it covered the entire floor of my office and it was high. Above my ankles.

This is the moment I realized I needed a much, much better system for organizing the kids' artwork. Up until this point, things had been pretty smooth. Brayden pretty much considered coloring to be torture time even as an 18 month old. I had always just taken a day once a year to photo all of the crafts made in the previous year, keep some, and thrown away the rest. It wasn't super fast, but not super long either. 

The once a year tactic was not going to work any more. Neither was once a quarter, obviously. I had an artist on my hands. Not only that, I was going to have two more children to add to the mix. I needed a better system. This post contains affiliate links. 

Phase 1: The Pre-Sort
Each day, go through your child's backpack or pile of art creations. Throw away anything you do not need any memory of. I won't tell you what you do and don't need--that is for you to decide. When Brayden was in Kindergarten, I kept every paper. When Kaitlyn was in Kindergarten, I kept only tests and art projects. I cut down even more these days--we don't need to remember every score on every test.

I put things I want to keep into hanging file folders on my wall. There they wait until the next phase.

Quick note--kids love to have their work displayed and I love to display it. Kaitlyn and McKenna have a large magnetic board in their room and we also hang things on the fridge. If something will be hung, I hang it. I don't put it into my hanging file folders until the item is done being on display.

Phase 2: The Photo Session
Just about every Saturday, I get all of the papers I have saved out and I take a picture of each one. I put each paper on a white foamcore board and put the foamcore next to a window in my house so the pictures will be nice. 

Doing this weekly means it only takes me about 10ish minutes each week. Sometimes I will skip it on a Saturday if things are crazy and I need to cut something. 

Phase 3: The Sort
Once I have taken the photo of the item, I put it in one of two piles. One pile is to keep and one is to throw away. I only keep a handful of things. The reason is just so the kids have something tangible to look back on their elementary years. I loved looking through my items so I want the kids to have the same experience. I am nostalgic. 

I immediately throw away the throw away pile. You have to act quickly so kids don't see the pile and intervene. 

Phase 4: Storage
For storage, each child has a nice file box. It is just cardboard but offices will use them to file things in. Brayden will make it through elementary school with just one. Kaitlyn might need two. I keep these boxes in our game closet downstairs. The kids often get their boxes out and go through their papers. I don't mind this (as long as they clean them up). Things don't stay as nice as they would, but the point is for them to remember what they did. I also have a photo of everything whether we keep it or not. 

That is as far as our storage has gone so far. A fun idea is to take it a little further and to print a memory book or a picture collage of their projects. For a child like Kaitlyn who loves art, this would be a treasured book to go through. For a child like Brayden, it would be a book on the shelf that rarely got looked at. If you have minimal storage space, this is a good option and you could save just a small handful of hard copy items. 

That is it! This process makes things very simple. I have never been overwhelmed like I was that summer day all those years ago. 

You can get more ideas from my post Managing the Paper Influx

Pinteresting Fridays: Cute Hair Accessories

by Just Sew Sassy


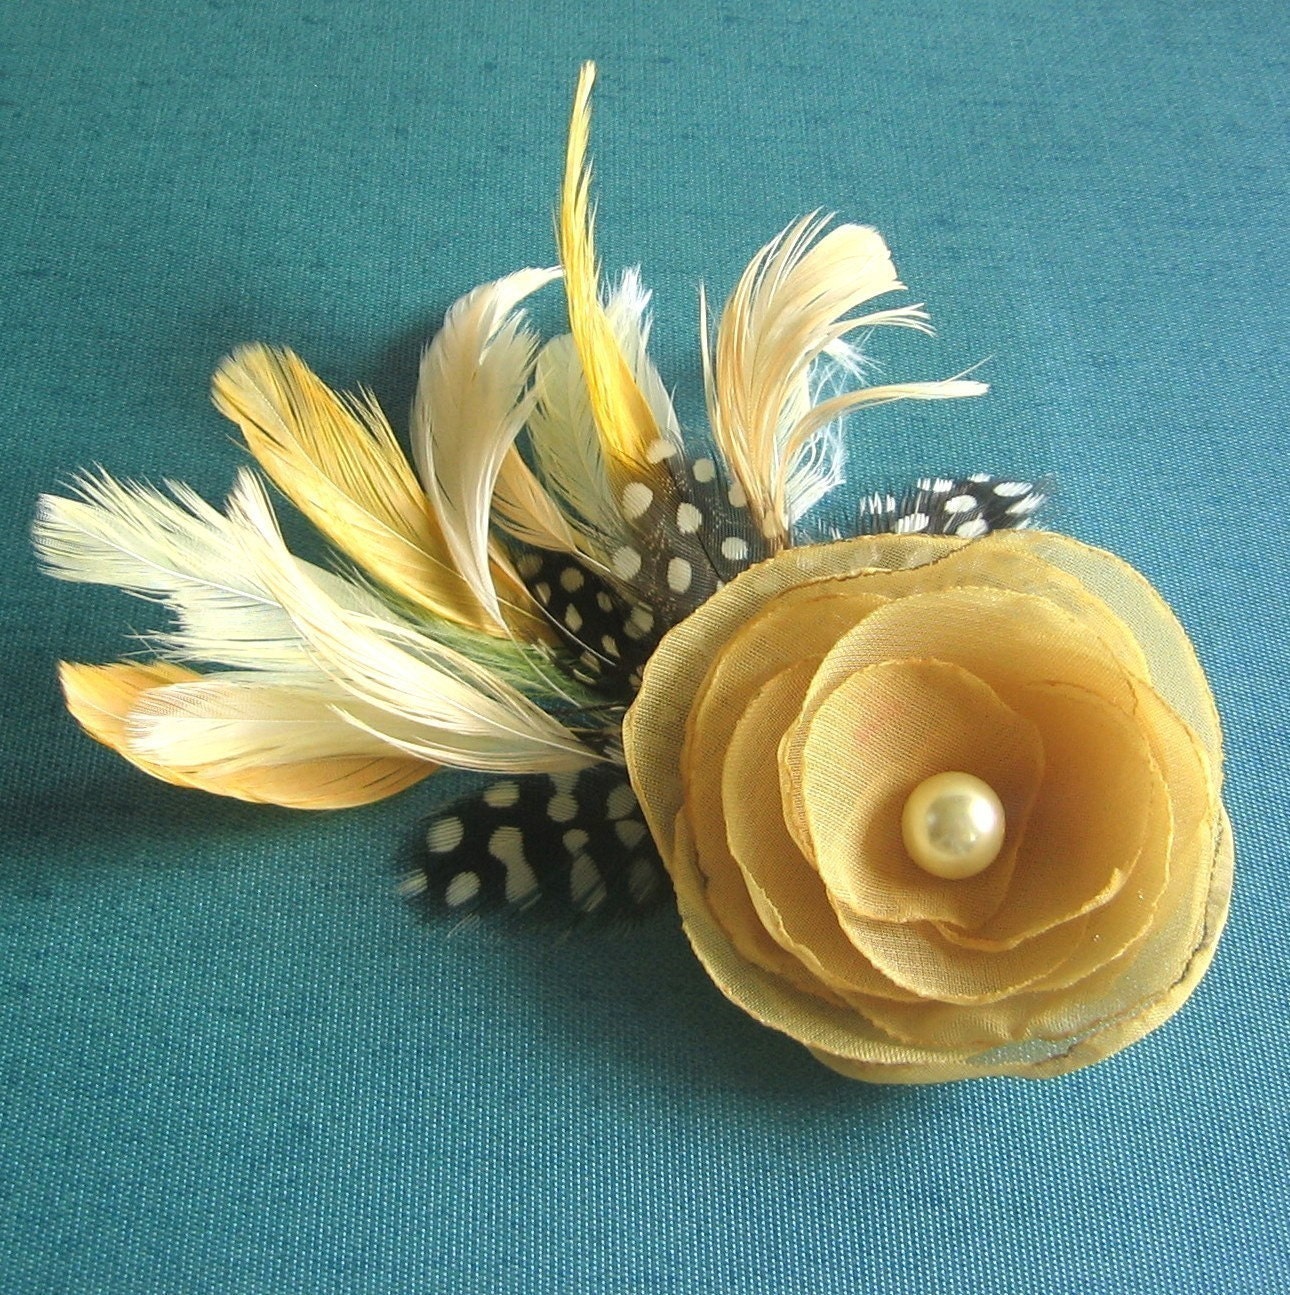
Yellow Chiffon Flower Clip
by StyleHive


by Birdie Little Secrets

by Tipnut

by Babble

For more hair accessories, see my Craftiness board.


Reader Craft Blogs

This is the place to share your craft blogs. Leave a comment with a link to your blog. You can also leave a short summary of what your blog is all about if desired. I will move your link and info up into the main body of this post.

MY CRAFT BLOG:

http://valscreations.blogspot.com

I just show pictures of stuff I have made

READER BLOGS:


Cook Clean Craft said...

Janice said...
My blog is http://wildrosepastures.blogspot.com/ and is about my life as a city girl on a farm as well as my quilting. As I finish quilts I post them, and I try to do a post about every 2 weeks.

Erin @ Two Story Cottage said...
Home Decor, Crafts, Life...www.twostorycottage.blogspot.com

I love to redesign, remodel and redecorate!

I'm a Babywise mom of two and a longtime reader. :)

Summer said...
Sumo's Sweet Stuff


http://sumossweetstuff.blogspot.com


I love to share recipes, tutorials, ideas, giveaways, and features on my blog.


Aimee & Josh Jensen said...
http://jensencrafts.blogspot.com/
Home decor, Tutorials, Clothes,etc


Danielle said...
http://darlingdesignsbydanielle.blogspot.com/


I do paper crafts and crafts that can be done with a cricut! enjoy


Tiff said...
http://supermama101.blogspot.com


Crafts, things to do with kids, scrapbooking, home solutions and decor, and holiday fun.


I update 3x per week. :)


Lori T said...

I like to post tutorials for sewing, decoupaging, recipes, etc.

serra said...

My blog is tied to my etsy shop. I show different ways to use the supplies bought from my shop, and showcase other etsy shops who use similar items for their craft.

http://simplyserra.blogspot.com/