Any links to Amazon are affiliate links. '
Showing posts with label tutorials. Show all posts

Face Out Bookshelves {Ideas and Tutorial}


From the moment I read about the idea, I knew I wanted to implement it in our home. It was genius and I was all in! We have had these in our home for about five and a half years and I love them the same as I did day one. This post contains affiliate links. In The Read Aloud Handbook, Jim Trelease talks about how seeing the book cover increases the likelihood that people will read the book.

It makes sense. At a book store, they make sure you can see the cover of any book they are trying to sell. The library typically uses the same tactic; if they want to encourage you to read a book, the cover will be facing you. 

Of course this method takes up a lot more space than stacking them on a bookcase. Never-the-less, I wanted a version in my home! I set out to find the perfect wall, and I found it! Chances are good you have a place in your home that work also. Space behind a door. Space on the wall of a hall. Any wall that can't have furniture up against it. 

If you are looking for gift ideas, either for your children or for yourself, this could be just what you were looking for. 

You can create this in many ways. You can do raingutters. You can do spice racks. You can use Picture Ledges shelves from IKEA. My husband made ours. You can see we don't have a huge profile for these shelves to stick out from the wall before they are in the way of the door right there, so it had to be pretty flat. These would work great in any hall on any wall. We have also put these on the wall above the bed in Brayden's room.


Here is our tutorial on how to do a face-out bookshelf. This is the way my husband designed so you couldn't see a back on the shelves--it looks like they are free-floating. Hopefully I can translate from Engineer-ese to English. Below this tutorial, I will show you some other ideas. 

Materials Needed:
  • 3/4"x1.5" pieces of wood cut to the length you want them on the wall. This is the actual size of the wood. They will be called 1"x2" in the store. You will need two pieces of wood for each shelf. Buy as many as you need to fill the space on your wall.
  • 3" Grabber screws
  • Glue if desired (we used wood glue)
  • Paint and paint brush (we use foam brushes for projects like this)
  • Finish nail gun nails
  • Wood putty
Tools Needed: 
  • Drill
  • Router and/or Table Saw
  • Measuring Tape
  • Pencil
  • Finish Nail Gun
Prepping Wood
1.First, buy your wood. If you are confused on what to buy, see the picture below. Click on it to enlarge. The wood shown in this picture would make one shelf. Cut wood to desired length.


2. Next, you need to router and notch one piece of wood for each shelf. 

Use a router or a dado on a table saw to notch one corner (all the way down the long side) as shown. Again, click on the picture to enlarge.


Use a router the opposite corner if desired. You can do it however you like things done. We used a 45 degree chamfer. You could do things more fancy if you like, or you can do nothing at all.

3. Brush all sawdust off and paint. Allow paint to fully dry. You don't have to paint the 1" (3/4") sides of the un-notched wood. 

Putting Up the Shelves
1. Measure and mark on your wall where you want the shelves. You might want to involve a level.

2. Pre-drill holes in your wall where studs are. It is very important you drill into studs.

3. You can glue one side of the shelf if desired and hold to the wall. We can't remember if we used it at this step or not.

4. Use 3" grabber screws to anchor to the studs. You want the 1" (3/4") side facing out so the long side of the wood is where your book will sit. Countersink screws so that they to just below the surface of the wood. Just make sure you don't go too far and split your wood.


Here are all of our initial pieces on the wall


 5. Uses a finish nail gun to put up the face piece. At this step, we did use glue to secure the two wood pieces together. You want the notched side in and up and the routered side out and down. See the picture below. The notching makes it so the shelf is a bit deeper while providing a lip to keep books on the shelf.

Finishing Touches
1. Use wood putty to fill in holes where finish nail gun put nails in. You want this to just go in the holes and not bump out beyond the hole.
2. Paint over wood putty once it is dry.
3. Put books up!


These shelves are so very worth it. I love having them. My children love them. They look at the books on these shelves all the time. 


But this is not the only way to do these shelves. You can see there are many amazing ways to do these shelves!
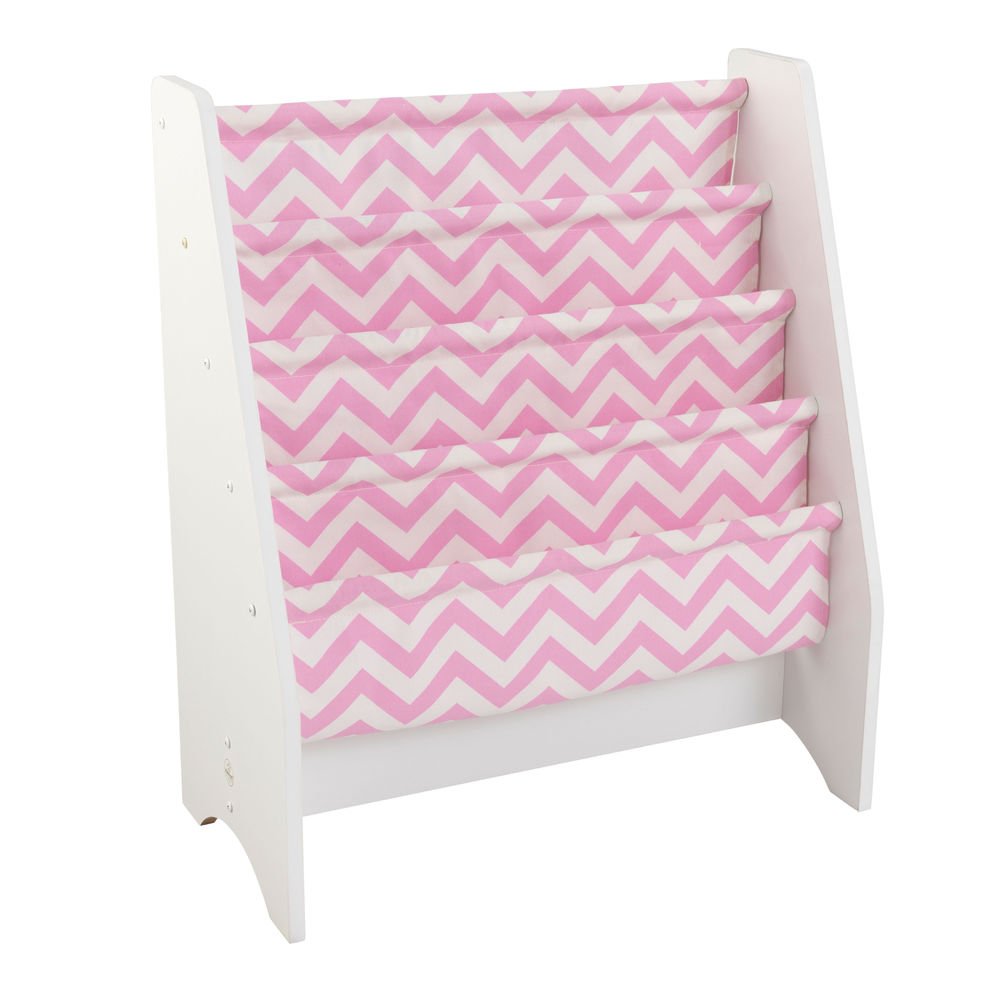
 Face out bookshelves
This bookshelf would be easy to put into a room.


Hanging Book Sleeves--easy to make

Flat Wall Book Holders--great for small spaces. Make yourself.


10 Dollar Ledges--make yourself


Raingutters are a very inexpensive and easy way to go.

Another inexpensive option is the spice racks here!


Twisty Hair-Do


One day during a dress rehearsal for a dance recital, way back when Kaitlyn was four years old, I sat and watched in awe as a mom a few rows up and to the right from me did this in her child's hair. It was so fast, and yet looked so cute! It looked like she spent a lot of time on it. By some miracle, I remembered the process and it has been one of our favorites ever since.

Typically, when you like a hair-do that we do and want to know how it is done, I will send you to my hair board to see the pin I used, tell you what to "Google" to find it, or I will send you the link of the video I watched. In this case, however, I have no option other than to make a video myself and show you how to do it. 

We are not professional hair-tutorial makers! Haha. Kaitlyn filmed for me. If you want to know what products and tools we use to do hair, you can see all of that information here.


DIY Doorway Puppet Theatre {Tutorial}

DIY Doorway Puppet Theatre {Tutorial}

Last Christmas, I was thinking and thinking trying to figure out what to get for Brinley for Christmas. Being my fourth child and third girl, she didn't really need much. I finally settled on wanting a doorway puppet theatre (puppet theater) for her. 

DIY Doorway Puppet Theater
My first stop is always Amazon. I knew this was something I could make, but you can often find things for about the same price already made. Here are some I found:


As I write this post, the prices are much lower than they were when I was looking. I knew it was MUCH more money than I could make it for.

So I next turned to Pinterest for ideas. There wasn't much. This was my favorite:

But there were no instructions. Never-the-less, I set out to the fabric store.

I wanted it to be a heavy material. I bought home decor canvas and it was on sale at Joanne's. I bought some fabric based on my best estimate of what I would need.

I told my neighbor of my plan and she let me borrow one her mom had made for her kids. Her mom is super creative and great at coming up with her own patterns. So I ended up studying that for my inspiration. And I want to share it with you!

Fabric Needed:
You can make this as fancy or as basic as you would like.

Base: My base is the striped fabric. You want that as long as you need it for the doorway. I did it the width of the fabric. My finished length is 72 inches. remember to calculate the top casing and bottom casing in your calculations. You should be able to do it in 2.5 yards. 3 yards would be very safe.

Back Fabric: You want a fabric to hand down in the back of the hole so the puppeteer can be hidden. Mine finished is 29 inches long. You also need some fabric for hemming, so I would go with 1 yard. I used the extra for the bottom ruffle on my curtains (not a need, just an aesthetic).

That is the only fabric you need. If you want to fancy it up--add:

Curtain Fabric: You will want 1 yard for your curtains. My friend's mom added tassles along the bottom edge of each curtain. I didn't have any on hand and wanted this to be as inexpensive as possible, so I made it look fancy by adding a ruffle to the bottom of each curtain.

Overhanging Fabric: I also used some fabric to hang from the top and at the bottom of the opening. I purchased one yard--I do wish I had purchased more so the bottom hanging section could be bigger. Again, I added a ruffle to the bottom of each piece of fabric to make it fancier.

Bag Fabric: I made a bag to store this in when not in use. I used some leftover fabric from the project and some cording.

Other Materials Needed: 
You will need a tension rod that is large enough to go in the doorway you want to use this in.

You will also need two dowels--one for the middle just below the opening and one for the bottom. Cut them to the width of your puppet theatre. These keep the theatre stiff and open in place as your children play with it.

And of course, you will need thread.

Method:

Cut your base fabric to the size you want it, leaving room for hemming and rod pockets.

Hem the sides. I serged and was just going to fold it over and sew it with the serged side exposed, but my perfectionist self decided the back would be seen enough that I did a double roll to hem it.


Hem the bottom and create the rod pockets. To make the casing, I serged the bottom, then folded it under two inches and sewed it in place.

Cut your hole. My finished hole size is 16.5 inches wide and 24 inches tall. I cut it a little smaller than that. The size of your hole will depend on how wide you make the whole thing. Measure, mark (either with pins or with fabric marker/pencils) and then cut. Cut along each side and the top. Leave the fabric attached at the bottom of the hole. You will later fold this to the back of the fabric.

Once your hole is cut, cut a 45 degree angle in the top two corners. Next, serge or finish the 3 inside edges that are raw. I serged, then folded them over once and stitched it in place. If you are making curtains for the front, they will cover up most of the edges for this hole.

Fold the flap from the hole you made so that it is hanging down on the back of the theatre. Press.


Everything up to this point is very simple and straight forward. This is where I had to stop and uncover the genius of my friend's mother. Next, you will be making the rod pocket for the middle of the theatre.


Turn your fabric over so you are looking at the wrong side (the back).

Fold the fabric up two inches. You will be pulling the fabric up from the bottom so there is a 2 inch overlap on itself. You want this fold to line up with the bottom edge of the hole you just cut. Pin this fold in place.

Sew close to the folded edge of the fabric. Sew close to the other folded edge on the front side.

You will now have a pocket. This is for the middle dowel. 

Next, serge or finish the edge of the flap in the back. I cut off the excess fabric before I did this. 


Okay it gets easier again.


Next, make your back fabric curtain.
  1. Cut your back fabric so that it is larger than the hole in your base fabric. You will want space for it to have a hem on each side. You will also want it to cover the hole with room to spare. 
  2. Hem each edge. 
  3. Pin the back fabric curtain to the back side of your base fabric over the hole. Sew along the top edge so it is secure on top (do not sew any other side).


Next, make your front curtains.

  1. Cut the fabric out. You want them large enough to cover your hole from the front. I decided to gather mind at the top, so I made each curtain wider than half of the hole.  
  2. Hem all sides and top.
  3. Add anything fancy you want to the bottom of each curtain.
  4. Pin each curtain in place on the front. My curtains have a bit of space between the inner ends so that they don't cover up so much of the opening. The flaw to this is that when you close the curtain, it doesn't cover the entire opening. You will have to decide if you want more of the opening showing or if you want the curtains to cover the hole completely. To get both, you could apply some velcro to the curtain to help fasten it shut when they are down. During play, the curtains are rarely down.
  5. Sew in place.


You will next want a way to hold the curtains back while doing your show.
  1. Cut two strips of fabric. I made mine 5 inches wide and 13 inches long. 
  2. Fold under each short edge, pres, and sew in place so there is no longer a raw edge on the end.
  3. Fold the fabric in half lengthwise with right sides together (show in picture below). Press.
  4. Sew along the long edge.
  5. Turn so the fabric is right side out.

Next, you will sew the strips onto the theatre.
  1. Fold one strip in half so the two short ends are connected. Pin into place. The bottom of my strip is 3 inches from the bottom of the hole in the theatre. The outside edge of the strip is 3.5 inches from the side of the hole on the theatre.
  2. Sew the short edges in place. 

If desired, create your top fancy piece of fabric.

  1. Cut the fabric so it is the length you want plus an extra 3 inches (or more if your tension rod needs a larger casing). 
  2. Hem the sides.
  3. Serge or hem the top.
  4. I sewed a ruffle on the bottom edge. You can add tassles or simply hem it. 
You then sew the right edge of the fancy fabric to the top of the theatre base piece. You will have the right edge going out the opposite direction from the base piece.


Next, fold the fancy fabric down so it hangs over your base fabric. You want it to cover up the top of the curtains and just skim the top of the opening of the hole. Press this edge. Sew 2.5 inches from the edge to create your top rod pocket. Before you do this, be sure 2.5 inches is an adequate size for your tension rod to fit through. 

IF YOU DO NOT WANT FANCY FABRIC--create your rod pocket in the same manner as you did the bottom rod pocket above. 

Finally, create your fancy piece for the bottom of your theatre if desired. 
  1. Cut your strip of fabric.
  2. Hem the side.
  3. Hem the top edge.
  4. Add ruffles or other embellishments you want.
  5. Pin just under the rod casing below your hole. Be sure it is straight.
  6. Sew in place.
I then made a bag:

It is tall enough to hold the puppet theatre with dowels, rod, and all. I can also fit the puppets.

Puppets:

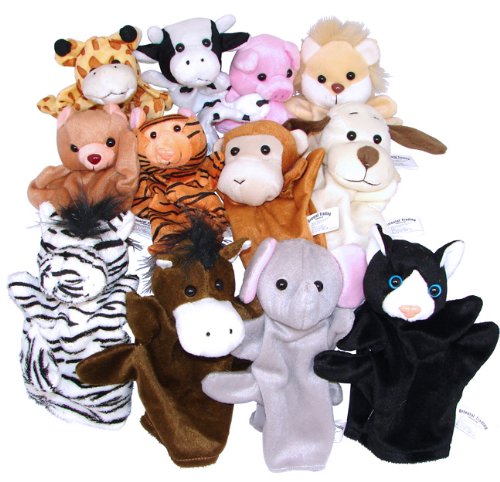
I went with the 1 Dozen Velour Animal Hand Puppets and have been happy with them. There are a lot of puppet options out there--including making your own!